Affiliate Disclosure (click here)
As an Amazon Affiliate I may earn a small commission through qualified purchases. It helps keep this page information free!
What is the EGR Valve and Why Does It Need Cleaning?
The EGR valve is an integral part of the emissions control system in automobiles. EGR stands for “Exhaust Gas Re-Circulation.” Without it, an automobile won’t pass smog. It reduces the production of NOx (One vehicle produced by Chrysler doesn’t require it).
When an engine’s internal temperature reaches 250 F, the combustion process starts to produce NOx (nitrogen oxide). NOx is then expelled into the atmosphere via the exhaust pipe. Once in the atmosphere, it is what is referred to as “air pollution.” We breathe the air, right? So NOx in the atmosphere is not good. That’s where the EGR valve comes into play. It is designed to reduce the amount of NOx emissions from automobiles. This is accomplished by recirculating a portion of the exhaust. Engines have a small passage between the intake and exhaust manifold. The EGR regulates this passage. When the valve opens, the engine draws in the exhaust through the EGR valve and re-directs it through the combustion process again. This causes the combustion temperature to decrease enough so NOx will be kept to a minimum.
Symptoms of An EGR Valve Going Bad
Over time all that exhaust builds up in the EGR Valve. You can clean the carbon deposits out of it. There are several indicators you will notice when the EGR Valve is on its way out.
- If you hear “pinging” from the engine when you are accelerating.
- When your engine is idling, instead of a smooth purr, it will sound erratic.
Tools and Safety Precautions
Right now we’re just going to be looking at the engine, maybe moving some wires out of the way to see better.
Before sticking your head and hands into your engine compartment, make sure the engine is turned “OFF” and the key is not in the ignition where it could start the engine, by accident.
Automotive engines are notorious for oil and grease clinging to every surface. Gloves will help keep your hands clean when you’re poking around in the engine compartment.
Recommended EGR Valve Cleaning Products
Getting the right supplies makes this job faster and more effective. Here are the specific products we used during this DIY guide:
- EGR Specific Cleaner: You must use a cleaner formulated for carbon deposits. We recommend and used Holley Carburetor Cleaner and for the electronic EGR Valve we recommend and used CRC Electronic Cleaner. Its specific formulation helps break down tough soot without damaging seals and electrical components.
- Safety Gloves: Chemical cleaners are harsh. We always use durable Nitril gloves (Black is my personal preference) to protect our skin.
- EGR Valve Gasket: You will need a specific gasket for your make and model. Search for EGR Valve . Just enter your vehicle’s year, make, and model to find the correct fit.
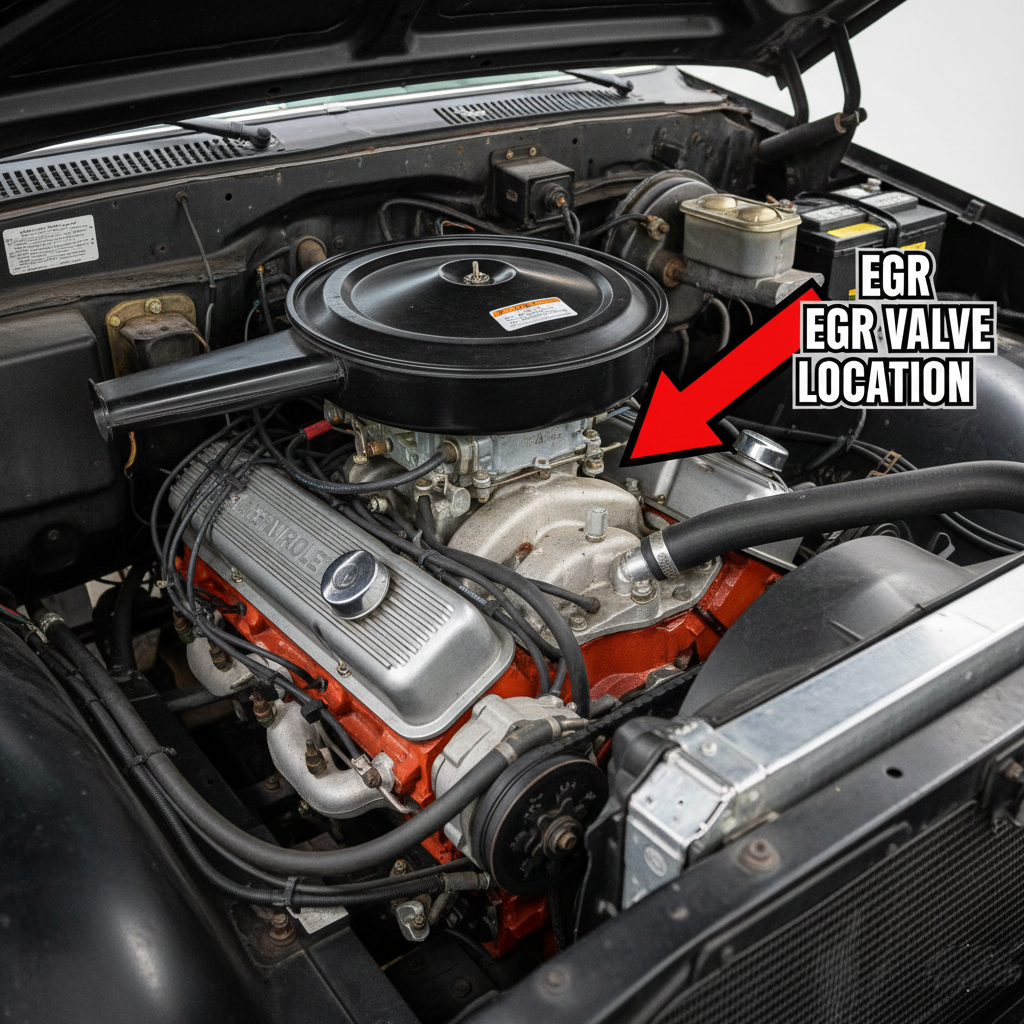
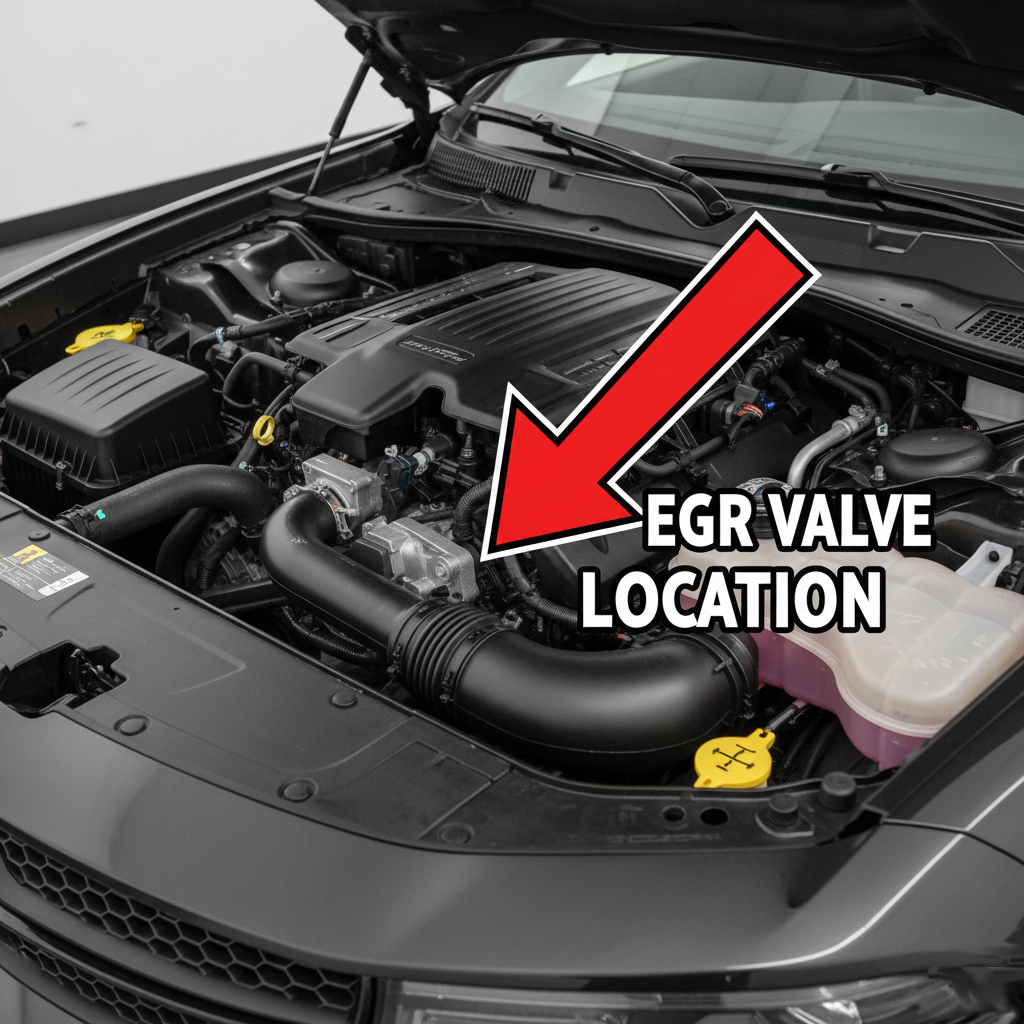
Locating the EGR Valve
Whether you’ve decided to clean your EGR Valve or replace it, you’ll need to find it in your engine first.
- Open your hood. The highest setting part in your engine is the air filter. It nearly touches the hood when it is closed. Right below the air filter is the…
- Carburetor. The carburetor is where the fuel and air are mixed before going into the pistons for ignition. The carburetor is connected to the…
- Throttle Body. Just as the name implies. This is the section where the throttle attaches. When you press the gas pedal inside your car it affects the lever on the throttle body to accelerate. The throttle body sits on top of the…
- Intake Manifold. This is where the EGR Valve is attached!
The EGR Valve is attached to the manifold, so it can intercept the exhaust and re-circulate it. Engines vary by Manufacturer and Model. If you follow the steps above you come to a close approximation of the location of the EGR Valve on your own engine.
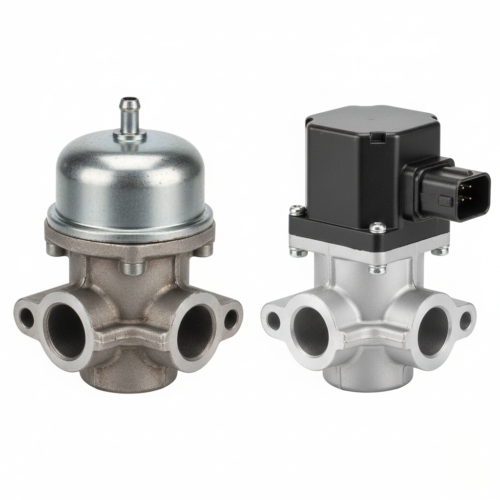
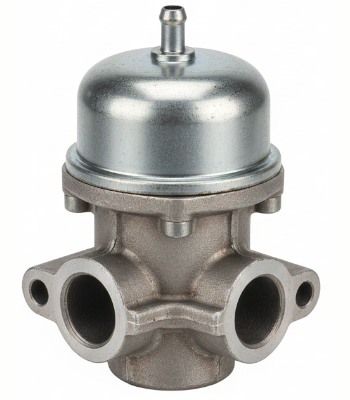
There are Two Types Of EGR Valves: Mechanical & Electronic
The mechanical, or pneumatic, EGR Valve is controlled by the vacuum created by the engine. These are most common in older vehicles. They filled their purpose, back in the day, but now there are much more precise Valves.
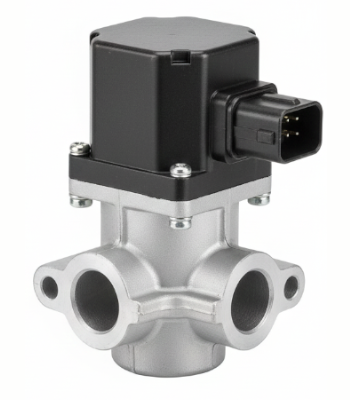
The electronic EGR Valve is controlled by the computer in your vehicle. It has several sensors the computer relies on to make adjustments that are far more precise than the mechanical EGR Valve.
Cleaning the Mechanical EGR Valve
- The first thing we need to do is locate the EGR in your engine using the steps listed above.
- Remove the vacuum hoses at the EGR Valve. Inspect the inside and outside of the hoses looking for exhaust build-up on the inside and cracks on the outside. If you find the hoses are cracking, replace them with new ones.
- Spray carburetor cleaning inside the lines to clear out any exhaust build-up. If you have pipe cleaners on-hand run them through the lines to get them clean.
- There are bolts (usually 2 bolts) attaching the EGR Valve to the engine, remove them, and remove the EGR Valve. Be careful when removing the mounting gasket. If it’s still in good shape you can re-install it later, but for a few bucks you can replace it for a new one. I recommend replacing it for a new one.
- Make sure the vacuum diaphragm moves freely. Spray carburetor cleaner through the ports and wipe them with a clean rag.
- When you have cleaned all the exhaust build-up off the EGR Valve, replace it in the engine making sure to put your new gasket back on first, then put the bolts back on and snug them down and re-attach the hoses.
And there you have it. A clean mechanical EGR Valve.
Cleaning the Electronic EGR Valve
- Locate the EGR Valve in your engine as outlined above.
- Disconnect the negative battery cable from your battery. This will reduce the risk of short-circuiting the components in the EGR Valve and/or your onboard computer system that is connected to it.
- Disconnect the hoses attached to the EGR Valve. Inspect them inside and out looking for cracks. Spray carburetor through the hose to clean out build-up.
- Disconnect the sensors attached to the EGR Valve.
- Remove the mounting bolts and lift the EGR Valve out of the engine. If the mounting gasket is in good condition you can re-use it, we recommend replacing it, they are only a few bucks for peace of mind.
- Avoid spraying the electronic connectors and sensors with carburetor spray. Spray the exhaust ports where there is exhaust build-up. Use a toothbrush or pipe cleaner to get all the exhaust build-up off. Wipe with a clean rag. There is a cleaning spray made for sensors and connectors that can be used for these sensitive parts.
- When the EGR Valve is clean put down the new mounting gasket and EGR Valve on top of it. Put the mounting bolts on and snug them down. Re-attach the sensors and hoses.
- Put the negative cable back on the negative post of the battery.
You’re done!