Important Note
The procedure in this article does not apply to iridium spark plugs. Sanding an iridium spark plug could potentially damage the tip.
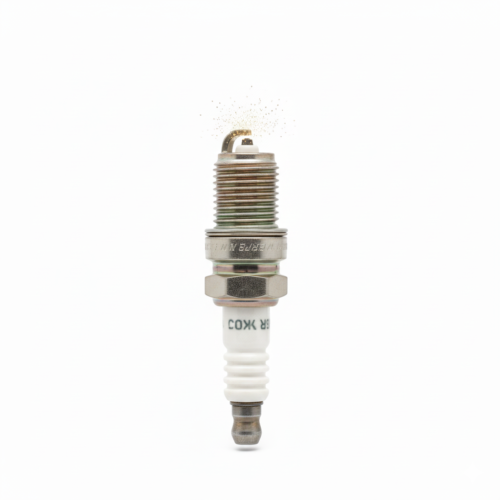
Spark Plugs Are The Life Source In An Engine
The spark plug is the life source in an engine. Whether it’s a Brigg’s & Stratton rototiller or a Chevy 454, the life is the spark plugs.
Spark plugs are mighty little workers. In my opinion, the spark plugs are the hardest working part in a vehicle next to the tires. They are in constant demand from the very moment the engine is started. They are working, non-stop, until the moment the key is shut off. They are so small, yet they affect several key functions in a vehicle, such as idling, power, acceleration, and fuel consumption.
A set of spark plugs usually lasts about 20,000 to 30,000 miles. This depends on your style of driving. Driving at highway speed, often, will increase the gap faster than driving to the local market several days a week. Under moderate driving conditions, the gap will increase by about 0.001 inches every 2,500 miles; under those conditions, the 20,000 rule applies.
You can increase the life of a spark plug by several thousand miles just by cleaning and adjusting the gap.
Cleaning a Spark Plug
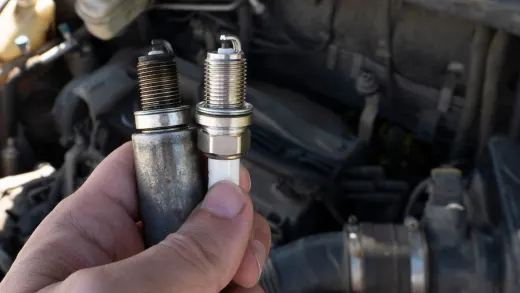
There is a normal build-up of soot from thousands of explosions a day that collects on the spark plug. The thousands of explosions each day cause the electrode to slowly wear down. The gap increases, which in turn, affects the fuel economy of the vehicle. Cleaning the spark plug will restore it to like new.
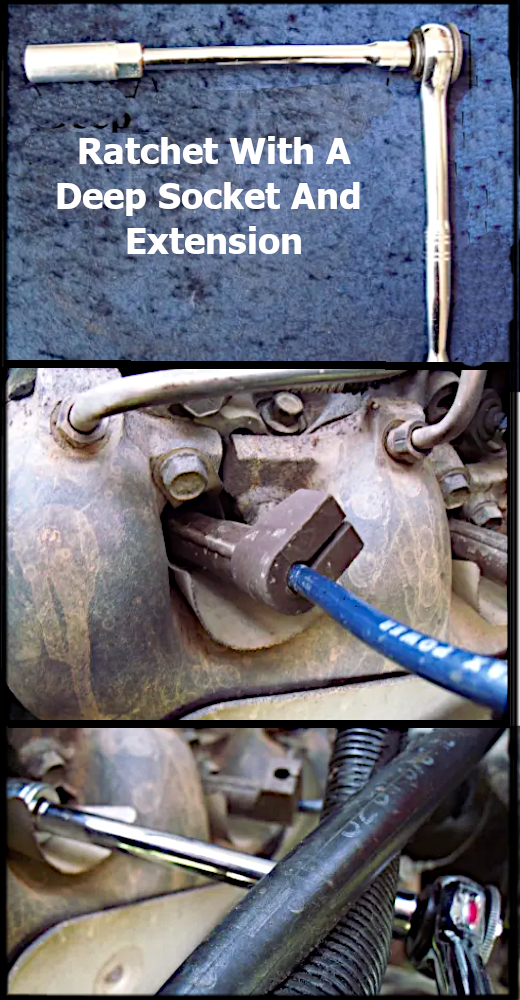
First, get your ratchet and a spark plug socket together. The spark plug socket has a rubber piece inside of it to protect the spark plug from the hard metal of the socket. You may need an extension in order to seat the socket on the spark plug correctly.
Just to make sure I don’t forget which spark plug I have cleaned and which ones I have not, I like to start at the front right spark plug, number one, and work my way down the row of plugs, cleaning and replacing it, then moving on to the next one.
I DO NOT recommend removing all of the spark plugs at one time! If you lose track of which spark plug wire goes where you will have a mess of trouble. Work on one plug at a time.
If you have difficulty locating the spark plugs on your engine you can find them by following the wire. The distributor is usually high and center on an engine. Locate one of the thick spark plug wires on it and follow it down to where it enters the engine. On some vehicles you won’t be able to see the spark plug. You will only be able to feel it or use a mirror to view its reflection.
When you’ve located where the spark plug is on the engine, remove the spark plug wire by gripping the boot of the wire, twist and pull. If you pull on the wire instead of the boot, you have a fantastic chance of pulling the wire out of the boot. When this happens you’ll need to repair the spark plug wire. You’ll find that article right here.
Clean the Spark Plug With Sandpaper
Now that you have the spark plug out, use a piece of fine sandpaper (180-grit or higher) to gently sand it.
If the gap is large enough, fold the sandpaper in half, slide it between the arm and the electrode, and slide it back and forth.
If the gap is not large enough to slide folded sandpaper, then use it as is, flat, but remember to flip the paper over to sand the opposing side.
- Slide the paper between the white insulator and the electrode to clear out any debris that may be in the groove.
- Blow off the sanded areas with an air hose or a burst of air from yourself (close your eyes if you opt for the latter).
- Set the Gap. A job isn’t done unless it’s done right! After sanding the spark plug clean, and blowing out the debris, you need to set the gap.
Refer to your owner’s manual for the specifications for your particular vehicle. As you can see in the photo, my vehicle is a 1989 K series (K is the first letter in the VIN). The engine is a 7.4 liter. With this information, we see the gap is 0.035 for my vehicle. Yours may be the same, but check the specifications because it may not be.
Set The Gap!
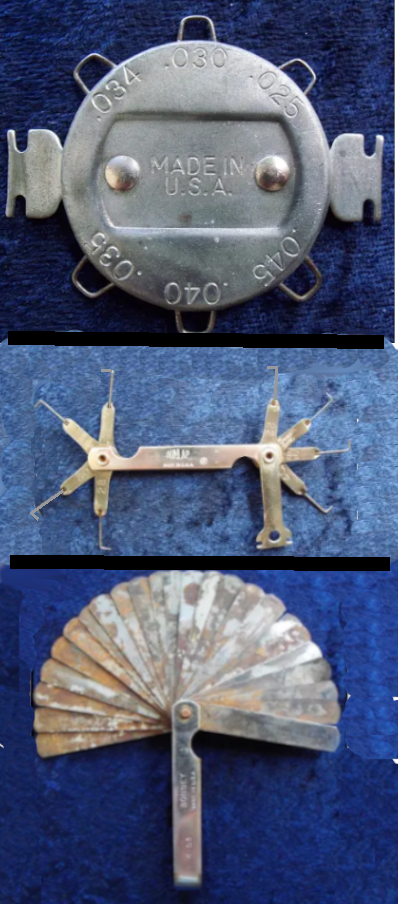
Set the gap by running a gapper through the space between the arm and the electrode. The gapper should touch both as it slides through, but it should not stick or click through. If it does stick or click, open the gap by adjusting the height of the arm. If it doesn’t touch both armature and electrode, close the gap until it does.
Now your spark plug is ready to be put back into service.
Drive carefully!
Tips
- When replacing spark plugs, replace all of them at the same time.
- Don’t submerge the spark plug in water to clean it.
- If oil and grease are caked on the spark plug, replace them and have your engine checked; it could have blown or bent rings.
- Clean one spark plug at a time. Pulling all the spark plug wires off at one time can be confusing when it’s time to put them back on. They must be put back at the same spot they came from or you will have major engine trouble if it starts at all!
- Be safe and do them ONE AT A TIME.
If you found this post helpful you may want to check out my auto repair books here.